


Key Takeaways:
- Understanding the Rock Tumbling Process: Learn the step-by-step procedure to transform rough rocks into beautifully polished stones.
- Essential Tools and Materials: Discover the necessary equipment and supplies for successful rock tumbling.
- Tips for Best Results: Gain insights into achieving perfectly polished rocks with practical tips and tricks.
Introduction to Rock Tumbling
Rock tumbling is a fascinating hobby that transforms rough rocks into smooth, polished stones. Whether you're a beginner or an experienced enthusiast, understanding the process and having the right tools is crucial for achieving the best results. This guide will walk you through the entire rock tumbling process, from selecting the right rocks to achieving a high shine.
Selecting Rocks to Tumble
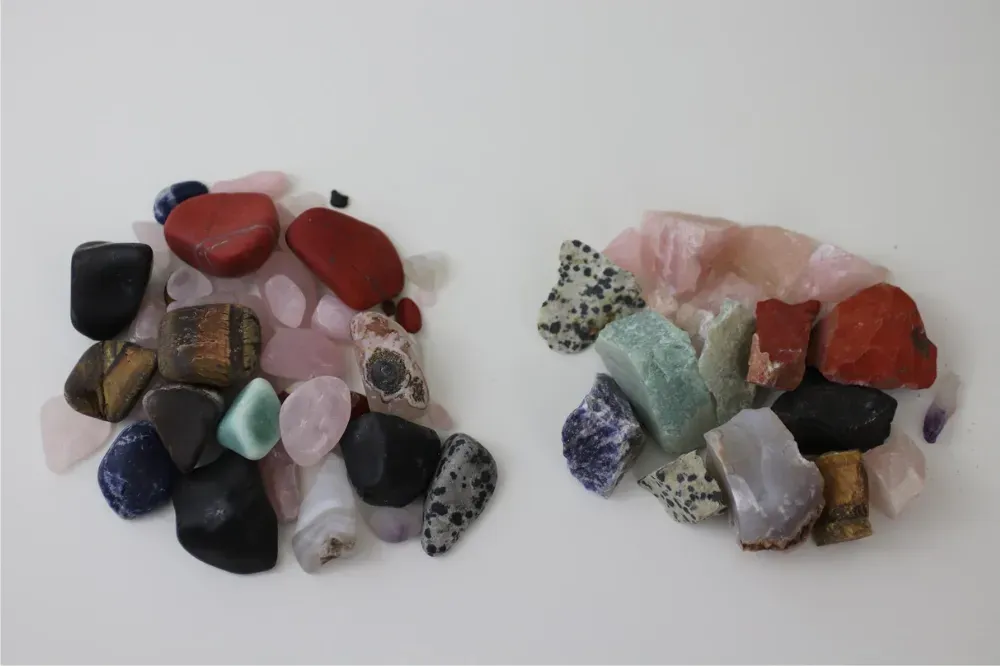
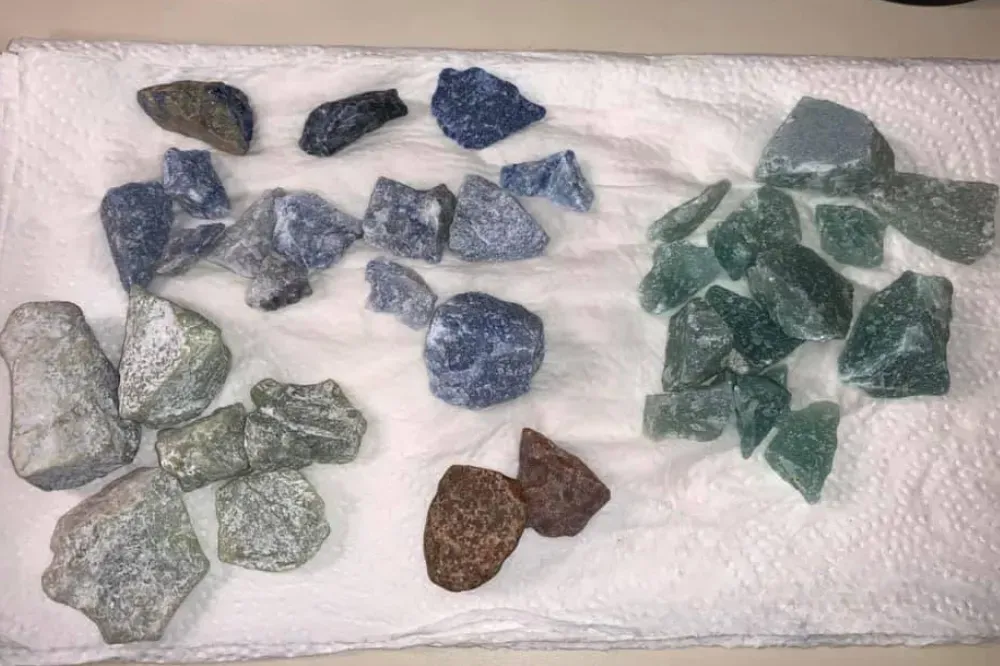
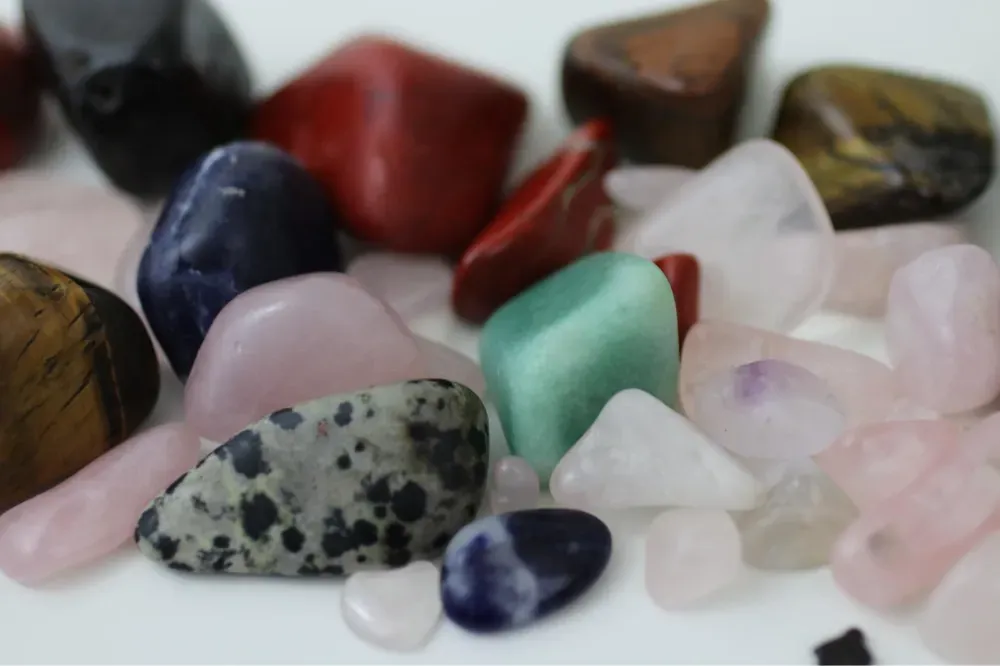
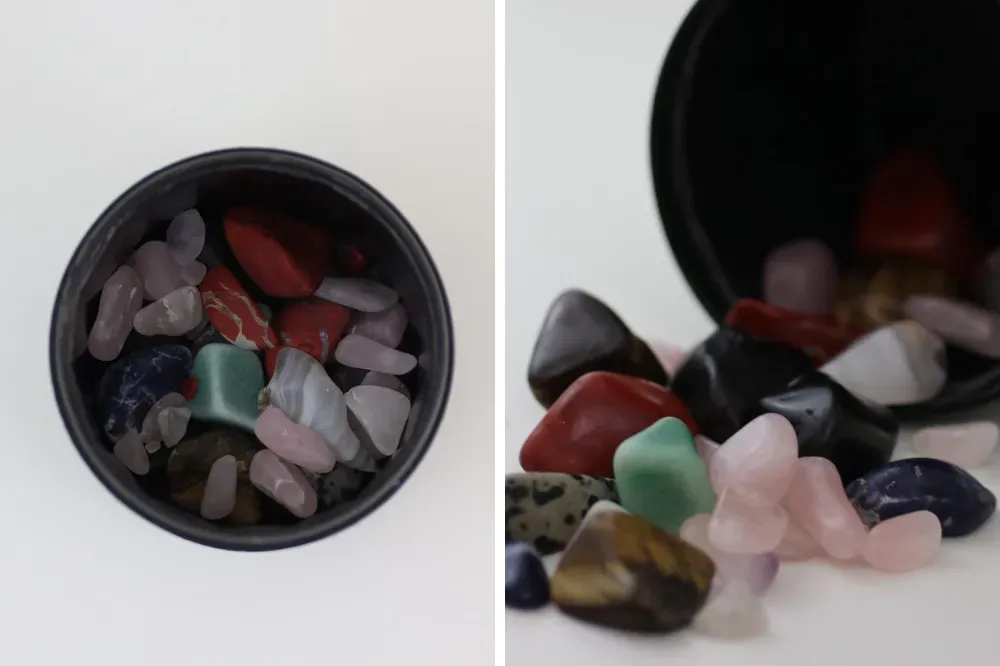
Choosing the right rocks is the first step in the tumbling process. It's essential to select rocks that have about the same hardness to ensure even polishing. Using softer rocks with harder rocks can cause the soft rocks to wear away quickly, leading to uneven results and scratches on the harder rocks. The Mohs hardness scale is a useful tool for determining the hardness of your rocks. For beginners, starting with rocks like agate, jasper, and quartz is a good idea, as they are relatively hard and produce excellent results.
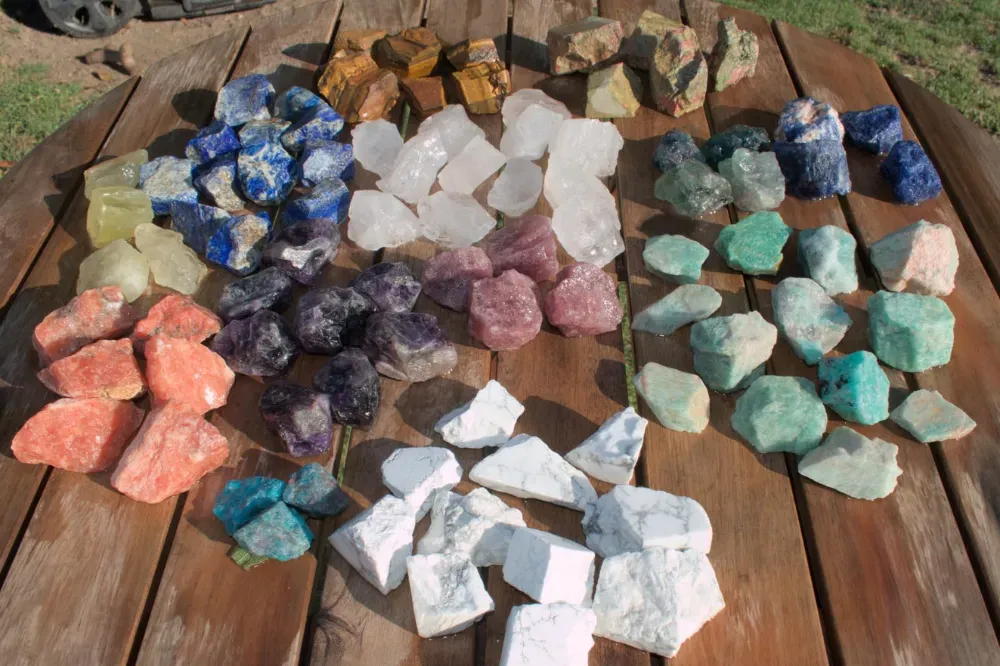
When selecting rocks, avoid those with cracks or sharp edges, as they can break during the tumbling process. It's also important to have enough rocks to fill the barrel of your tumbler. A three-pound capacity barrel typically requires about two pounds of rock.
Preparing the Rocks
Before placing the rocks in the tumbler, they must be cleaned thoroughly. Use an old toothbrush and soapy water to remove dirt or debris. This step ensures that no unwanted particles interfere with the tumbling process. Once cleaned, inspect the rocks again for cracks or imperfections.
Next, sort the rocks by size. Having a mix of large and small rocks helps create a more efficient tumbling action. The small rocks fill the gaps between the larger ones, ensuring even grinding and polishing.
Understanding the Tumbling Process
The rock tumbling process consists of several stages, each with its specific purpose. The stages include the coarse grind step, medium grind step, fine grind, and polishing stage. Each grit stage involves using different types of grit and specific amounts of water.
Coarse Grind Step
The coarse grind step is the first stage of the tumbling process. This stage involves using coarse grit, typically silicon carbide, to remove rough edges and shape the rocks. Fill the barrel with the rocks and add enough water to cover them. Then, add the coarse grit, usually about two tablespoons per pound of rock.
Seal the barrel and place it on the rotary rock tumbler. Let it run for about a week, checking periodically to ensure the water level is adequate. After a week, open the barrel and inspect the rocks. If they still have rough edges, repeat the coarse grind step with fresh grit.
Medium Grind Step
The medium grind step is the next stage, where medium grit is used to smooth the rocks further. Clean the barrel and rocks thoroughly before starting this step. Add the rocks back into the barrel, along with enough water to cover them and the medium grit.
Run the tumbler for another week, checking periodically. This stage helps refine the shape of the rocks and prepares them for the fine grind.
Fine Grind
The fine-grind stage uses fine grit to smooth the rocks even more. Clean the barrel and rocks again before starting this stage. Add the rocks, water, and fine grit to the barrel and let it run for another week.
This stage is crucial for achieving a smooth surface on the rocks. After a week, inspect the rocks to ensure they are ready for the polishing stage.
Polishing Stage
The polishing stage is the final step in the tumbling process. This stage uses a polishing compound, such as cerium oxide or tin oxide, to give the rocks a high shine. Clean the barrel and rocks thoroughly before starting this stage.
Add the rocks, water, and polishing compound to the barrel. Let the tumbler run for about a week, checking periodically. After a week, open the barrel and inspect the rocks. They should have a beautiful, polished finish.
Tips for Best Results
Achieving perfectly polished rocks requires attention to detail and patience. Here are some tips to help you get the best results:
- Use Ceramic Media: Adding ceramic media to the barrel helps cushion the rocks and ensures even polishing.
- Add Plastic Pellets: Plastic pellets can be used in the polishing stage to prevent the rocks from scratching each other.
- Monitor Water Levels: Check the water level periodically to ensure the rocks are adequately covered.
- Use Fresh Grit: Always use fresh grit for each stage to ensure effective grinding and polishing.
- Wear Safety Glasses: When handling grit and rocks, wear safety glasses to protect your eyes from debris.
Common Mistakes to Avoid
Rock tumbling can be a rewarding hobby, but it's essential to avoid common mistakes to achieve the best results. Here are some pitfalls to watch out for:
- Overloading the Barrel: Overloading the barrel can prevent the rocks from tumbling properly. Ensure you have the proper amount of rocks for your tumbler's capacity.
- Using the Wrong Grit Size: Using the wrong grit size can result in uneven polishing. Follow the recommended grit sizes for each stage.
- Skipping Stages: Skipping stages can lead to poor results. Follow each stage of the tumbling process for the best outcome.
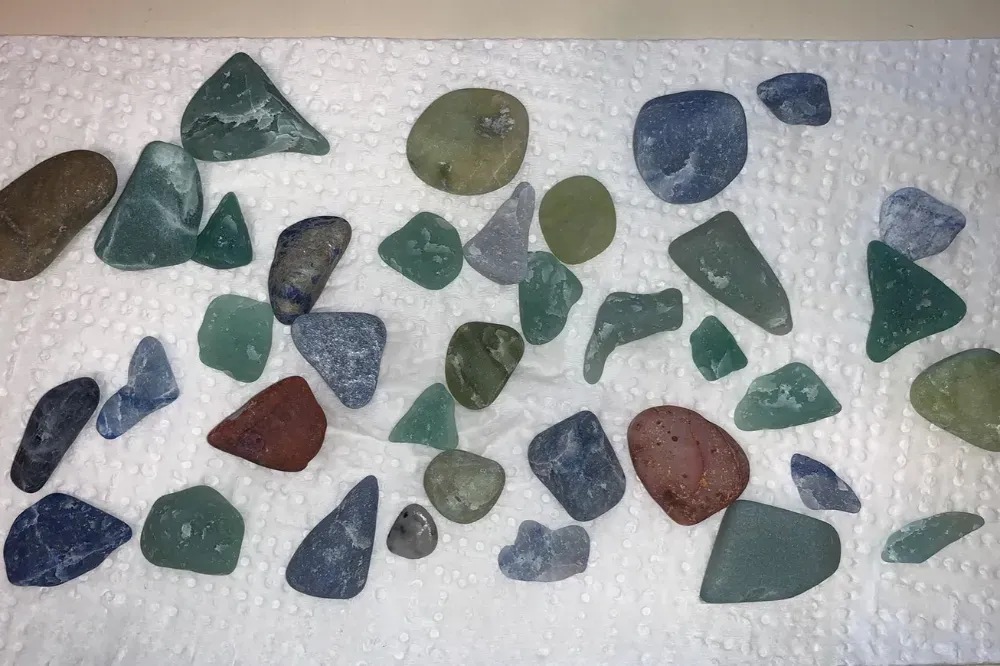
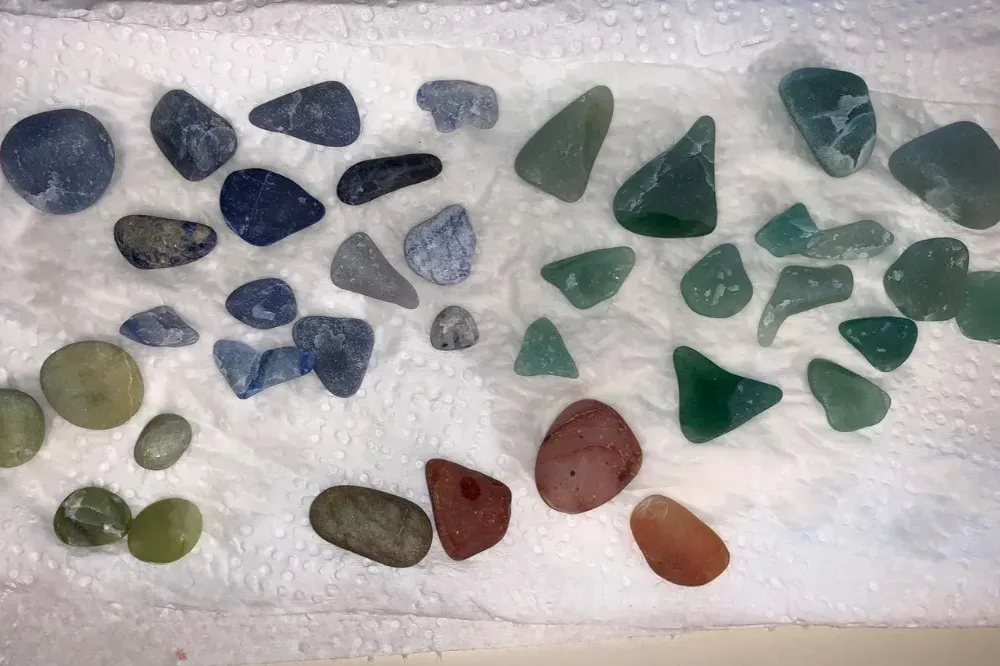
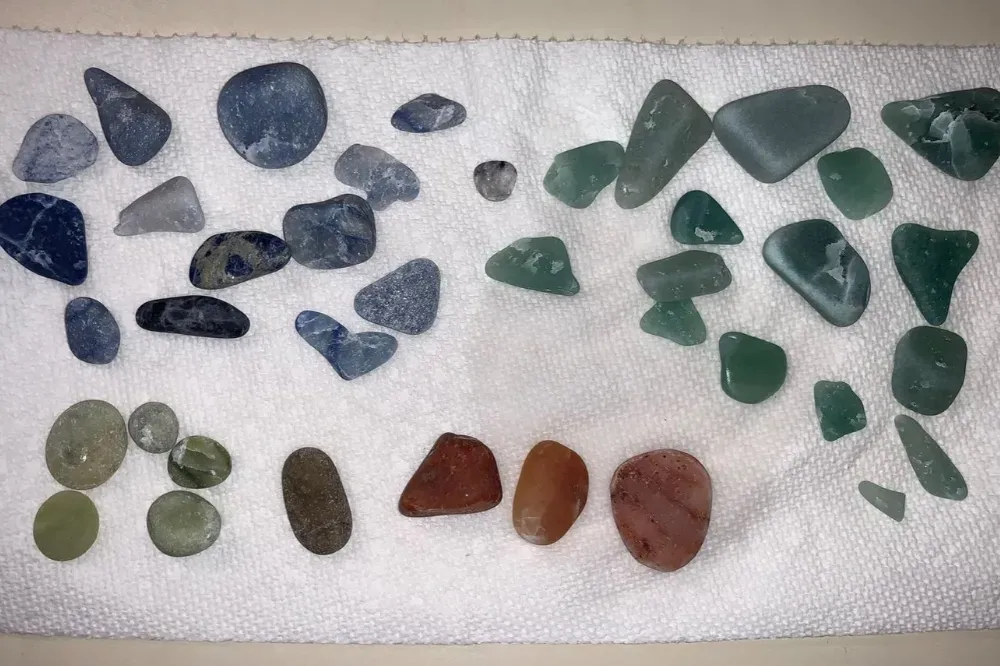
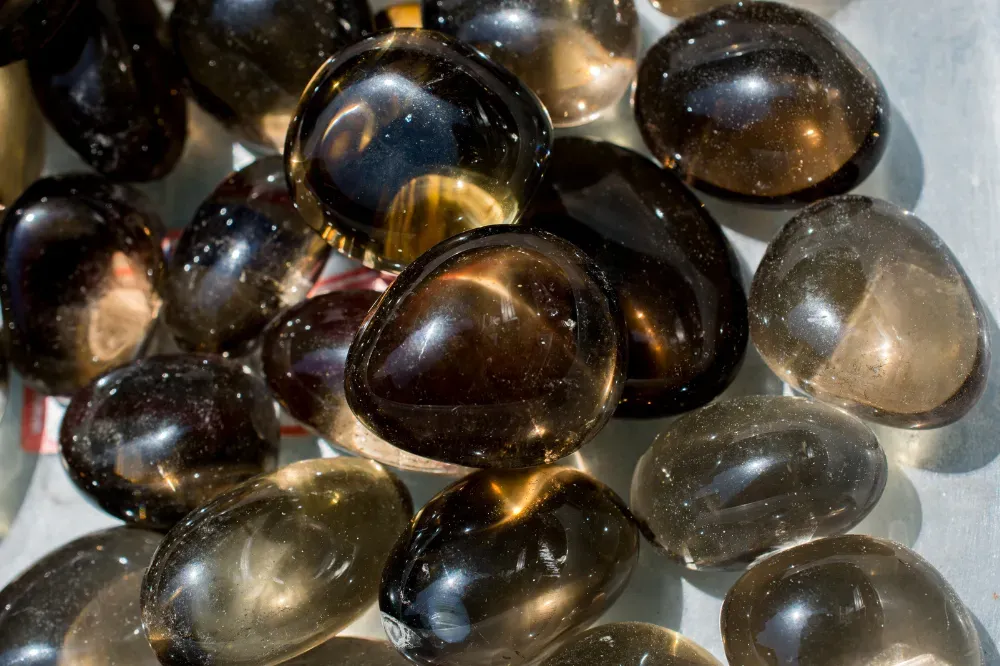
Case Study: Tumbling Smoky Quartz
Smoky quartz is a popular choice for rock tumbling due to its beautiful color and hardness. Here's a case study on tumbling smoky quartz:
Selecting the Rocks
For this project, we selected smoky quartz with a Mohs hardness of 7. The rocks were inspected for cracks and sharp edges, and any imperfect pieces were set aside.

Coarse Grind Step
The rocks were placed in a three-pound capacity barrel with enough water to cover them. Two tablespoons of coarse grit were added per pound of rock. The barrel was sealed and placed on the rotary tumbler for a week.
Medium Grind Step
After a week, the rocks were inspected and found to be free of rough edges. The barrel and rocks were cleaned thoroughly before starting the medium grind step. The rocks, water, and medium grit were added to the barrel, and the tumbler was run for another week.
Fine Grind
The next step was the fine grind stage, with the rocks and barrel cleaned again. Fine grit was added, and the tumbler was run for another week. The rocks were inspected and found to have a smooth surface.
Polishing Step
The final stage involved adding a polishing compound to the tumbler barrel. The tumbler was run for a week, resulting in beautifully polished smoky quartz with a high shine.
Summary
Rock tumbling is a rewarding hobby that transforms rough rocks into polished stones. By following the steps outlined in this guide and using the right tools and materials, you can achieve stunning results. Remember to select rocks of similar hardness, use the appropriate grit sizes, and follow each stage of the tumbling process for the best outcome.
FAQ
What types of rocks are best for tumbling?
Rocks with a Mohs hardness of 6-8, such as agate, jasper, and quartz, are ideal for tumbling. These rocks are hard enough to withstand the tumbling process and produce excellent results.
How long does the rock tumbling process take?
The entire rock tumbling process typically takes about 4-6 weeks, with each stage running for about a week. Patience is key to achieving perfectly polished rocks.
Can I reuse grit for multiple stages?
No, it's essential to use fresh grit for each stage of the tumbling process. Reusing grit can result in uneven polishing and poor results.
 Jose Ribeiro